Cube3: Assembling
De WikiRobotics
Revisión del 04:36 23 feb 2011 de Obijuan (Discusión | contribuciones) (→Paso 2: Conectar el servo a la Skycube)
Contenido
Introduction
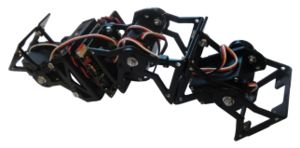
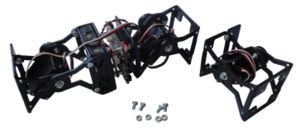
Cube3 is a 1D topology pitch-pitch modular robot. It consist of three modules. For assembling it the following parts are needed:
- One MY1 module (Assembly instructions)
- One Minicube-I robot (Minicube-I: Assembling)
- 4 M3 bolts
- 4 M3 nuts
Assembling
Step 0: Perform the previous assembly
To assembly Cube3 it is necessary to first build the following parts:
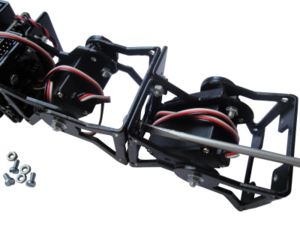
Step 1: Screw the module to Minicube-I
Step 2: Connect the servo to the Skycube board
Connect the module's servo to the Skycube board. It can be connected to any of the free 3-pin headers
| |
Paso 3 (Opcional) Fijar los cables con bridas
Opcionalmente, se pueden usar bridas para fijar los cables. Este paso es similar al paso 3 del montaje de Minicube-I
Fotos
| Álbum de fotos |
Enlaces
Noticias
- 03/Abril/2010: Primera versión terminada
- 31/Marzo/2010: Comenzada esta página


