Diferencia entre revisiones de «Minicube-I: Assembling»
De WikiRobotics
(→Paso 3 (Opcional) Fijar los cables con bridas) |
(→Fotos) |
||
| Línea 62: | Línea 62: | ||
|} | |} | ||
| − | == | + | == Pictures == |
{| {{tablabonita}} | {| {{tablabonita}} | ||
| − | || [http://fotos.iearobotics.com/index.php?album=robot-modular-minicube-i | + | || [http://fotos.iearobotics.com/index.php?album=robot-modular-minicube-i Photo album] |
|} | |} | ||
Revisión del 01:24 23 feb 2011
Contenido
Introduction
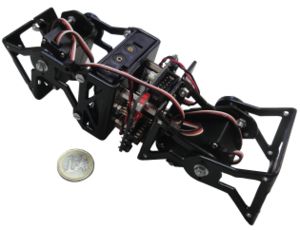
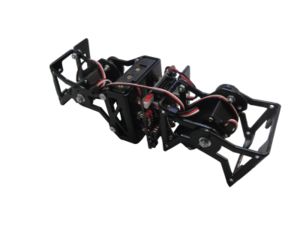
Minicube-I is the minimal modular robot capable of moving forward and backward. For the assembling the following parts are needed:
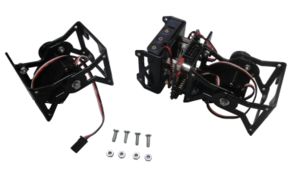
- One MY1 module fully assembled (Assembly instructions)
- One Unimod type A1 (Assembly instructions
- 4 M3 bolts
- 4 M3 nuts
Assembling
Step 1: Screw the module to Unimod A1
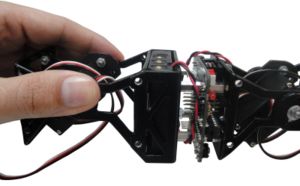
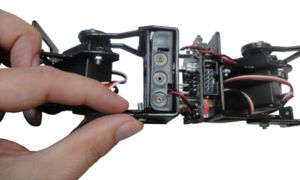
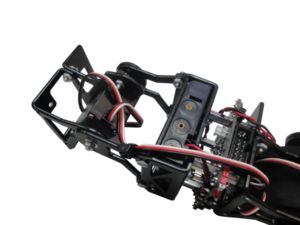
Step 2: Connect the servo to the Skycube board
Connect the servo to the Skycube boad. It can be connected to any available 3-pin header.
| |
Step 3 (Optional) Secure the cables using cable ties
This step is optional. Secure the cables using fastening devices such as cable ties. This will improve the robot wiring. Before fastening the cable ties, make sure the modules can move the whole range (180 degrees). Also check that the servo wires are not too tight.
Pictures
| Photo album |
Enlaces
Noticias
- 16/Marzo/2010: Primera versión de esta página
- 10/Marzo/2010: Comenzada esta página
