Diferencia entre revisiones de «Cube3: Assembling»
De WikiRobotics
(→Paso 3 (Opcional) Fijar los cables con bridas) |
(→Fotos) |
||
| Línea 58: | Línea 58: | ||
|} | |} | ||
| − | == | + | == Pictures == |
{| {{tablabonita}} | {| {{tablabonita}} | ||
| − | || [http://fotos.iearobotics.com/index.php?album=robot-modular-cube3 | + | || [http://fotos.iearobotics.com/index.php?album=robot-modular-cube3 Photo album] |
|} | |} | ||
Revisión del 04:40 23 feb 2011
Contenido
Introduction
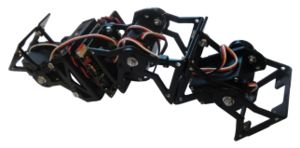
Cube3 is a 1D topology pitch-pitch modular robot. It consist of three modules. For assembling it the following parts are needed:
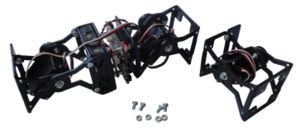
- One MY1 module (Assembly instructions)
- One Minicube-I robot (Minicube-I: Assembling)
- 4 M3 bolts
- 4 M3 nuts
Assembling
Step 0: Perform the previous assembly
To assembly Cube3 it is necessary to first build the following parts:
Step 1: Screw the module to Minicube-I
Step 2: Connect the servo to the Skycube board
Connect the module's servo to the Skycube board. It can be connected to any of the free 3-pin headers
| |
Step 3 (Optional) Secure the wires with cable ties
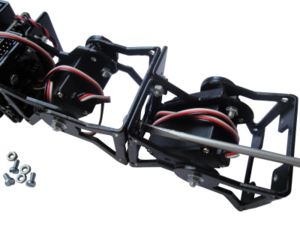
Optionally, cable ties can be used to secure the wires. This step is similar to Minicube-I:_Assembling#Step_3_.28Optional.29_Secure_the_cables_using_cable_ties
Pictures
| Photo album |
Enlaces
Noticias
- 03/Abril/2010: Primera versión terminada
- 31/Marzo/2010: Comenzada esta página


